


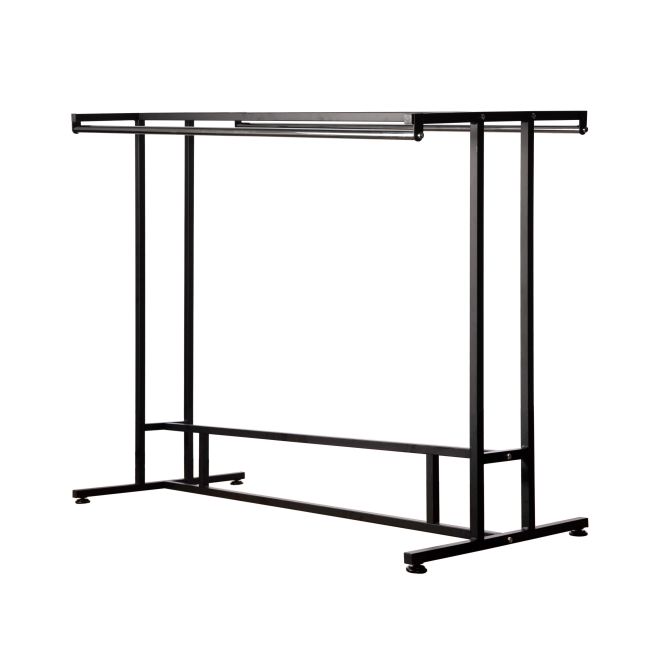
Struggling to turn a flat pack retail display stand into anything resembling the picture on the box? You’re not alone—many of us have created modern art instead of a functional stand.
To fix this, follow clear, step‑by‑step assembly guides, lay out all parts first, and use manufacturer instructions. For safe, stable displays, see this retail safety guidance from the HSE: HSE retail display safety.
🧰 Tools and Workspace Preparation for Flat Pack Display Stand Assembly
Prepare a clean, open area so you can see every flat pack part. Keep tools close to reduce mistakes and speed up display stand assembly.
This setup works for simple cardboard stands and stronger metal units such as shoe, wire basket, or gaming controller displays.
1. Basic Hand Tools You Need
Gather tools before you open the box to avoid delays and missing steps during flat pack retail display stand setup.
- Phillips and flat screwdrivers
- Allen keys supplied in the pack
- Rubber mallet for gentle tapping
- Utility knife and measuring tape
2. Preparing a Safe, Clear Workspace
Create a wide, flat surface to protect parts and prevent lost screws, clips, or connectors during retail display assembly.
- Use a mat or carton to protect floors
- Keep kids and customers away while working
- Work near good lighting for easy reading
3. Reading the Assembly Guide First
Read the instruction sheet once from start to finish. This makes each step smoother and reduces the risk of wrong drilling or bending.
| Step | Action |
|---|---|
| 1 | Study diagrams and part codes |
| 2 | Note weight limits for shelves |
| 3 | Check which tools are required |
4. Planning for Different Display Types
Plan where each display will stand in your store, from shoe racks to wire baskets and gaming racks, before you start building.
- Wall space for a Hanging Shoe Display Rack for Boots | Metal Retail Store Stand
- Aisle ends for impulse bins
- Counter zones for premium accessories
📦 Unboxing Components and Checking All Display Stand Parts
Open the flat pack slowly and lay out all parts on the floor or table. Compare everything with the contents list before you start assembly.
This prevents extra work later and protects delicate panels, hooks, and connectors from damage or loss.
1. Carefully Opening the Carton
Cut along tape only and avoid pushing the knife deep. This keeps printed panels and plastic edges clean and free from scratches.
- Slice along seams, not across faces
- Remove filler material gently
- Place small parts in a tray or box
2. Verifying Part Counts Against the List
Match every board, bracket, and screw with the packing list. This step ensures your flat pack display can be built without delay.
3. Sorting and Grouping Components
Place similar parts together so you can grab them quickly during assembly. Group by size, label, or function for better flow.
| Group | Includes |
|---|---|
| Structural | Base, side panels, back panels |
| Support | Brackets, cross bars, hooks |
| Hardware | Screws, nuts, bolts, caps |
4. Inspecting for Defects Before Use
Check parts for cracks, bends, or missing coatings. Report issues before loading products to keep your retail display safe and professional.
- Look for chipped edges or dents
- Check welds on wire or metal parts
- Confirm printed graphics are correct
🧱 Step-by-Step Assembly of Base, Shelves, and Support Panels
Build the display from the ground up. Start with a stable base, then add shelves and support panels for safe, long-lasting use.
Use gentle pressure and follow the order in the guide to avoid strain on joints and connectors.
1. Assembling and Leveling the Base
Connect base pieces tightly so the stand does not wobble. Use a level to check both front-to-back and side-to-side.
- Align pre-drilled holes carefully
- Hand-tighten screws first
- Adjust feet or casters if provided
2. Installing Shelves and Load-Bearing Supports
Attach main shelves, rails, or wire baskets according to weight limits. Heavier items should sit on lower levels for better balance.
- Clip brackets fully into slots
- Confirm shelves sit flush on supports
- Test by pressing lightly on each shelf
3. Adding Back Panels and Side Stability
Fit back and side panels to lock the frame. These panels keep the display square and prevent twist under load.
| Panel Type | Main Function |
|---|---|
| Back | Stops sway and supports graphics |
| Side | Protects edges and adds strength |
🔧 Securing Joints, Connectors, and Ensuring Structural Stability
Once the frame is built, secure every joint and connector. A firm, solid structure protects shoppers and products from falls.
Check your work twice before you move the unit into its final retail position.
1. Tightening Screws, Bolts, and Clips
Use gentle, even force to tighten hardware. Avoid over-tightening, which can strip threads or crack lighter plastic parts.
- Work in a cross pattern on larger panels
- Use the correct screwdriver head
- Recheck after the first day of use
2. Checking for Wobble and Lean
Push gently from different sides to test movement. If the stand rocks, adjust feet, connectors, or brace points as needed.
| Issue | Quick Fix |
|---|---|
| Side wobble | Tighten side bolts and cross bars |
| Front lean | Move heavier stock downwards |
| Twist | Refit back panel and supports |
3. Safety Checks Before Store Use
Inspect sharp edges and exposed screws. Add caps or covers where possible to protect buyers and staff during daily store traffic.
- Cover bolt ends with plastic caps
- File tiny burrs on metal edges
- Confirm casters lock securely
🛍️ Final Positioning, Product Loading, and Maintenance Tips by Formost Plastics
Place the finished display stand in a high-traffic area with enough walking room. Then load products by weight and category for clear, effective merchandising.
Regular checks keep your structure clean, safe, and appealing to shoppers.
1. Positioning for Maximum Retail Impact
Set stands at aisle ends, near checkout, or in themed zones. Avoid blocking exits or making tight corners for shoppers.
- Keep at least 90 cm of walkway
- Angle displays to face traffic flow
- Match stand style to store layout
2. Smart Product Loading and Cross-Merchandising
Place heavy stock low, eye-level products in the middle, and light or seasonal items high. Use matching accessories to boost sales.
- Pair footwear with a nearby Rolling Wire Basket Storage Stand – Folding Caster Display
- Use hooks for small upsell items
- Group by brand or use case
3. Cleaning and Long-Term Maintenance
Wipe shelves and panels often, check fasteners monthly, and refresh graphics to keep your stand looking new and on-brand.
- Use mild cleaner and soft cloths
- Replace worn feet or casters
- Update layouts for new campaigns on a Modular Gaming Controller Display Stand – Custom Accessory Rack
Conclusion
Flat pack retail display stands are easy to assemble when you prepare your tools, check every part, and follow a clear build order.
By securing joints and loading products correctly, you create safe, attractive fixtures that highlight your merchandise and support strong in-store sales.
Frequently Asked Questions about retail display stands
1. How long does it take to assemble a flat pack display stand?
Most simple stands take 20–40 minutes with basic tools. Larger metal or multi-shelf units may require 60–90 minutes and a second person for lifting.
2. Can I reassemble a stand after moving stores?
Yes. Disassemble carefully, keep all hardware in labeled bags, and follow the original guide. Avoid repeated over-tightening to protect threads and panels.
3. How much weight can my retail shelves safely hold?
Always follow the limits printed in the manual. As a rule, keep heavy items on lower shelves and never exceed the rated load per level.
4. What if a part is missing from the flat pack?
Stop assembly and note the missing part code. Contact the supplier with photos of the label and packing list to request replacement hardware or panels.
5. How do I keep my display looking new?
Clean weekly, tighten loose fasteners, and repair chips quickly. Refresh graphics and rearrange products often to keep the display fresh and engaging.