


Your store shelves look like a Tetris game you’re losing—products crammed, nothing fits, and customers need a treasure map to find toothpaste.
Use vertical shelving to stack products smartly, boost visibility, and improve sales (Nielsen shelf-space report).
📚 Planning Shelf Heights for Different Product Categories and Package Sizes
Smart vertical shelving starts with shelf heights that match product sizes. Plan clear zones so shoppers see items fast and your team can restock without stress.
Use flexible layouts for snacks, bottles, and boxed goods. Mix standard units with specialty fixtures like a 2-Tier Wire Display Rack for Grocery Produce to handle fresh and bulky items.
1. Measure Product Heights and Group by Range
Begin by measuring real products, not just box labels. Group them into height ranges so each shelf row fits well and avoids wasted vertical space.
- Small items: 5–15 cm
- Medium items: 16–30 cm
- Tall items: 31–45 cm
- Oversize items: 46 cm and above
2. Create Vertical Zones by Category
Place related categories in vertical blocks so shoppers scan up and down, not across the whole aisle. Keep grab-and-go items around eye and hand level.
| Zone | Category |
|---|---|
| Top | Backstock, light items |
| Middle | Best-sellers |
| Lower | Heavy or bulk goods |
3. Balance Shelf Depth and Reach
Deep shelves hold more stock but can hide items. Keep depth easy to reach so customers and staff do not strain to grab products.
- Use shallower shelves for small packaged goods
- Reserve deeper shelves for cases and cartons
- Limit top-shelf depth to what staff can safely reach
4. Mix Fixed Shelves with Specialty Racks
Standard gondolas work for most items, but special racks highlight key lines. Use wire bins, tiered stands, and endcaps to break up long runs of shelving.
- Produce: wire baskets and tiered racks
- Promos: endcap displays
- Heavy goods: reinforced lower shelves
🧱 Using Adjustable Shelves to Adapt Quickly to Seasonal Inventory Changes
Adjustable shelves let you switch from winter stock to summer lines without rebuilding your aisle. Move shelf clips and rails instead of replacing fixtures.
Plan a simple reset routine so staff can re-space shelves for holiday rushes, back-to-school sets, or new product launches in a few minutes.
1. Plan Seasonal Layout Templates
Create preset layouts for key seasons so staff know which shelf heights to change. This helps you act fast when demand shifts suddenly.
| Season | Focus Products | Change |
|---|---|---|
| Spring | Cleaning, garden | Taller shelf gaps |
| Summer | Drinks, snacks | More eye-level space |
| Winter | Gifts, bulk packs | Deeper, lower shelves |
2. Use Data to Guide Shelf Height Changes
Sales data should drive which items gain prime space. Track which SKUs rise during each season, then stretch or shrink shelf gaps to match.
3. Combine Adjustable Shelves with Modular Racks
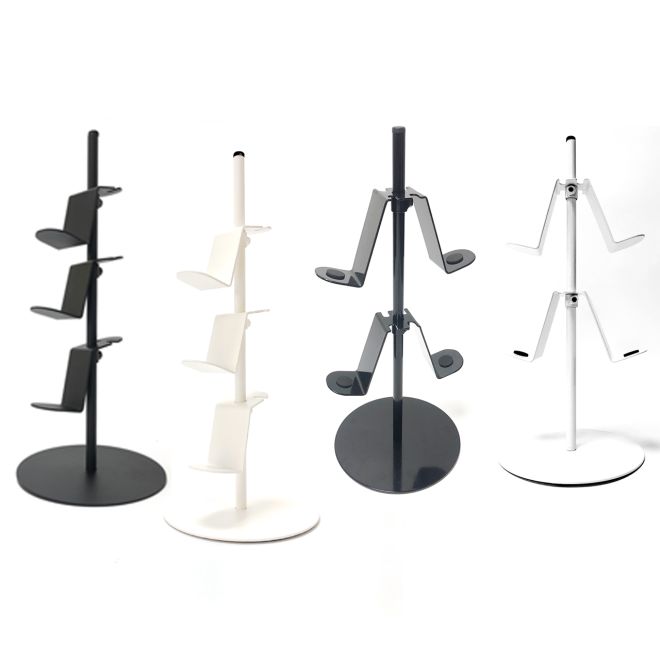
Pair adjustable uprights with modular fixtures, like a Modular Gaming Controller Display Stand – Custom Accessory Rack, to quickly repurpose space for new lines without extra build time.
- Clip-in shelves for standard goods
- Modular racks for themed or tech items
- Fast swaps during promotions
4. Train Staff for Fast Shelf Resets
Clear guides and tools help teams shift shelves safely. Set standard shelf heights and label uprights so staff can adjust quickly and avoid guesswork.
- Provide reset diagrams
- Label notches on uprights
- Schedule short reset sessions weekly
🎯 Positioning Best-Selling Items at Optimal Vertical Viewing Levels
Vertical space works best when it supports shopper sight lines. Put best-sellers where eyes and hands naturally land, then use higher and lower shelves for support items.
Test and adjust positions often so your top movers stay visible and easy to grab, even as product lines and shopper habits change.
1. Use Eye-Level for Core Best-Sellers
Reserve true eye level for hero products. Place top SKUs in the middle third of the unit so customers see them first from the aisle.
- Adult eye-level: about 120–160 cm
- Kids’ items: lower band, 90–120 cm
- Promos: eye and hand level together
2. Place High-Margin Add-Ons at Hand Level
Stock profitable add-ons slightly below eye level. Shoppers often reach here, so cross-sell items benefit from stronger visibility and easy access.
| Level | Product Type |
|---|---|
| Eye | Key brands |
| Hand | Add-ons, new items |
| Lower | Heavy packs |
3. Use Top and Bottom Shelves for Support Items
Store backstock, slow sellers, or light decor on high shelves. Keep heavy bags and cases low to cut risk and make lifting easier for customers.
- Top: décor, signs, light goods
- Bottom: bulk and heavy items
- Middle: daily grab items
🧺 Incorporating Bins and Dividers from Formost Plastics for Tight Organization
Bins and dividers keep vertical shelves neat and easy to shop. They stop products from drifting and help your team face up goods fast.
Use them to separate flavors, colors, or sizes so customers see options clearly without digging through overfilled shelves or mixed stacks.
1. Use Bins to Control Small Loose Items
Small items fall and scatter without support. Bins keep them contained and visible, so customers can see stock while you reduce cleanup time.
- Great for snacks and impulse buys
- Label each bin clearly
- Stack bins only within safe height
2. Add Dividers for Clear Product Segments
Dividers create simple lanes on each shelf. This keeps brands and sizes apart, making restocking faster and reducing mix-ups at the shelf edge.
| Divider Use | Benefit |
|---|---|
| By brand | Cleaner brand blocking |
| By size | Easy choice for shoppers |
| By flavor | Less searching |
3. Pair Bins with Specialty Floor Racks
Combine bins and dividers with specialty stands like a Foldable Iron Wine Floor Display Rack – 12 Bottle Store Fixture to highlight premium lines, keep bottles stable, and save aisle space.
- Use floor racks for premium sets
- Bins nearby for related add-ons
- Clear price tags on every segment
🧹 Maintaining Safety, Stability, and Easy Cleaning on Tall Shelving Units
Tall shelving can unlock valuable space, but safety, strength, and clean lines must come first. Design units that support real loads and daily cleaning.
Secure shelves, plan safe reach heights, and keep floors open so staff can use cleaning tools and customers can move without risk.
1. Anchor and Load Shelves Correctly
Always follow load ratings and anchor tall units to walls or floors. Place heavier products on lower shelves to keep the center of gravity stable.
- Check weight labels on units
- Use anti-tip brackets or rails
- Inspect anchors during routine checks
2. Design for Safe Reach and Step Use
Limit the height of items customers need to grab. Provide approved steps or ladders for staff and set rules for who can climb and when.
| Height Zone | Access Rule |
|---|---|
| 0–180 cm | Customer reach |
| 181–220 cm | Staff only |
| Above 220 cm | Backstock, steps required |
3. Keep Tall Units Easy to Clean
Leave enough gap under shelves for mops and vacuums. Choose finishes that resist dust and spills, and set clear cleaning routes around each run.
- Use closed backs to reduce dust
- Keep cables and clutter off floors
- Schedule deep cleans by aisle
Conclusion
Vertical shelving helps you use every centimeter of store space while keeping displays clear and safe. Plan shelf heights, viewing levels, and support fixtures around real products.
With adjustable shelves, bins, dividers, and stable tall units, your team can reset fast, control clutter, and guide shoppers smoothly to key items.
Frequently Asked Questions about retail store shelves and displays
1. How high should retail store shelves be?
Most stores keep customer-access shelves below 180 cm. Higher levels work best for light backstock, décor, or staff-only storage using safe steps.
2. How do I choose between fixed and adjustable shelves?
Use fixed shelves for stable, long-term layouts. Choose adjustable shelves when product mix changes often, or when you run many seasonal promotions.
3. What is the safest way to store heavy products?
Place heavy items on lower shelves or pallets close to the floor. Avoid loading top shelves with weight, and follow each unit’s load rating.
4. How can I keep shelves looking neat during busy hours?
Use bins, dividers, and clear labels. Schedule quick facing rounds, and design shelves so staff can straighten products in seconds, not minutes.
5. Do special display racks really improve sales?
Yes. Specialty racks draw attention, group related items, and make choices clear. When placed at key viewing levels, they often lift impulse and premium sales.